All web designers have different software and processes they go through when a project first lands on their desks, some of which no one knows they do.
However you go about it the end goal is to create something that looks great, works great and is ultimately user intuitive.
To help walk through what I do we can use a recent internal design project.
The Web Design Brief
Redesign the look and feel of Zebedee Bug Tracker. No functional backend changes should take place, purely HTML and CSS.
A really simple project from the design point of view, with it already being a working application we have the functionality and user journey completely mapped out. Which makes designing so much easier, this enables us to see exactly how people are using it and what type of content is going where.
As I have mentioned before in our user experience blog, research is key, this should be the first thing you do. Even for a simple project like this, you should always research, so this is our first step!
I start by researching styles, colours, Dashboard UI…anything at all that will help with inspiration and the usability of the design.
To help collate my research I use Evernote to store screenshots of items that give me ideas.
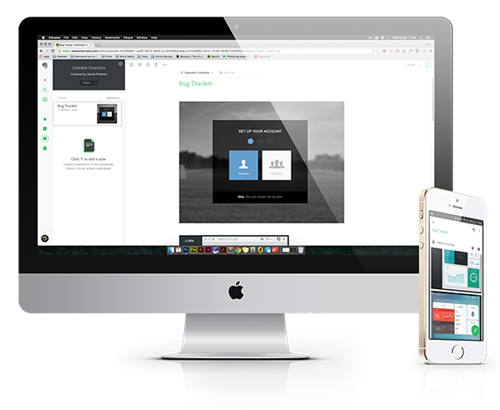
Evernote is a really useful tool that allows you to store notes, images, checklists – you name it, you can store it. It’s also accessible on all devices via an App (for both iOS and Android) which means you can capture and record anything within the relevant note whilst away from your desk rather than carrying around tiny bits of paper (which you find 2 days later and have to decipher!).
Another cool feature of Evernote is the sharing and chat feature. If you’re working on a project as part of a large team of web designers and developers, it enables you to gain direct feedback or merge ideas.
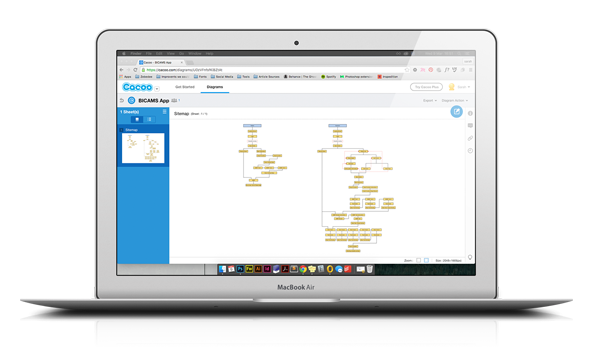 I should probably mention that usually my next step would be in Cacoo building the user journey and sitemaps to ensure everything makes sense to the user and flows nicely through. Then, using pen and pencil (or Balsamiq), I would mock up wireframes.
For this project, we already know this from the original build and it’s something that we can’t change this time, so we will skip this bit.
Web Design
We’re now at the creative section, for this design project I will be using a mixture of Adobe Illustrator and Adobe Photoshop.
Illustrator is a great tool for creating vector graphics, so all icons will be created in here and then exported as an SVG.
Photoshop is where I do image manipulations and design the application (that is, until Adobe’s highly anticipated Adobe User Experience is released in full! The preview is looking very promising!).
Although Photoshop is a bit clunky for web design it does have one useful feature – Live device preview on iOS devices with Adobe Preview, (again this will change with Adobe User Experience which they say will have live preview on both Android and iOS for the full release.)
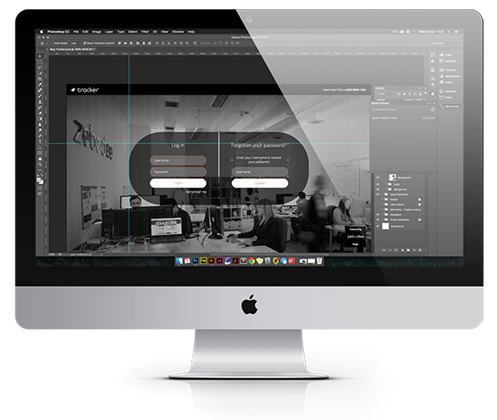
Live device preview is perfect for responsive web design when mocking up tablet and mobile, and with any app design. It allows you to design directly on the device screen giving you a better experience to truly test it out before anyone sees it. This is what helps to create a more user friendly design which is ultimately what we strive for.
This more or less covers the basics of my software and process for a simple web brief. Once I am happy with the design I would export the Artboards and prepare them to be sent to the client for feedback/approval.